Thursday, November 18, 2021

Advent Calendar Tutorial

Hello Sweet Friends!  A few weeks ago I shared an advent calendar I made featuring Sweet N Sassy Stamps on my Instagram (@stampymom5).  I promised to write a tutorial-how-to at that time.  I've had so many technical problems--it's taken nearly a month to get here!  I apologize for that and for some of the formatting, but I hope this is useful to help you create your own project!

 You will need chipboard, designer paper, cardstock, adhesive, stamps, ink, circle punch (optional) and a scoring tool. Copy and paste into blogger has been a real bugger!  I hope this remains clear for you!

Supplies:

Chipboard                        7 x 9 (2)

                                         2 ½ x 9

Designer Paper                8 x 10 (2)

                                         3 ½ x 10

 Spine Foundation            4 ½ x 9

Cardstock for boxes        4 x 7 (24)

Other                               Scissors

                                         Scoring Tool

                                         Adhesive (tape and glue)

                                         Stamps

                                         Ink

                                         Circle punch (optional)

Creating the Calendar “Book” Base

Step One:           Cover all chipboard pieces with designer papers.  Be sure to miter corners as shown below.


Complete the larger pieces with an additional piece of designer paper or cardstock, measuring just slightly smaller than the 7x9 dimension of the cover pieces, to finish the front and back of each.  You will not need to do this for the smaller spine piece.  See step two.  


Step Two:  Adhere the smaller covered chipboard piece in the center of the spine foundation piece.  This piece, along with the two covers, forms the book-like base for your project.


Step Three:  Working on the backside of the spine section, place adhesive on each edge and adhere the covers.
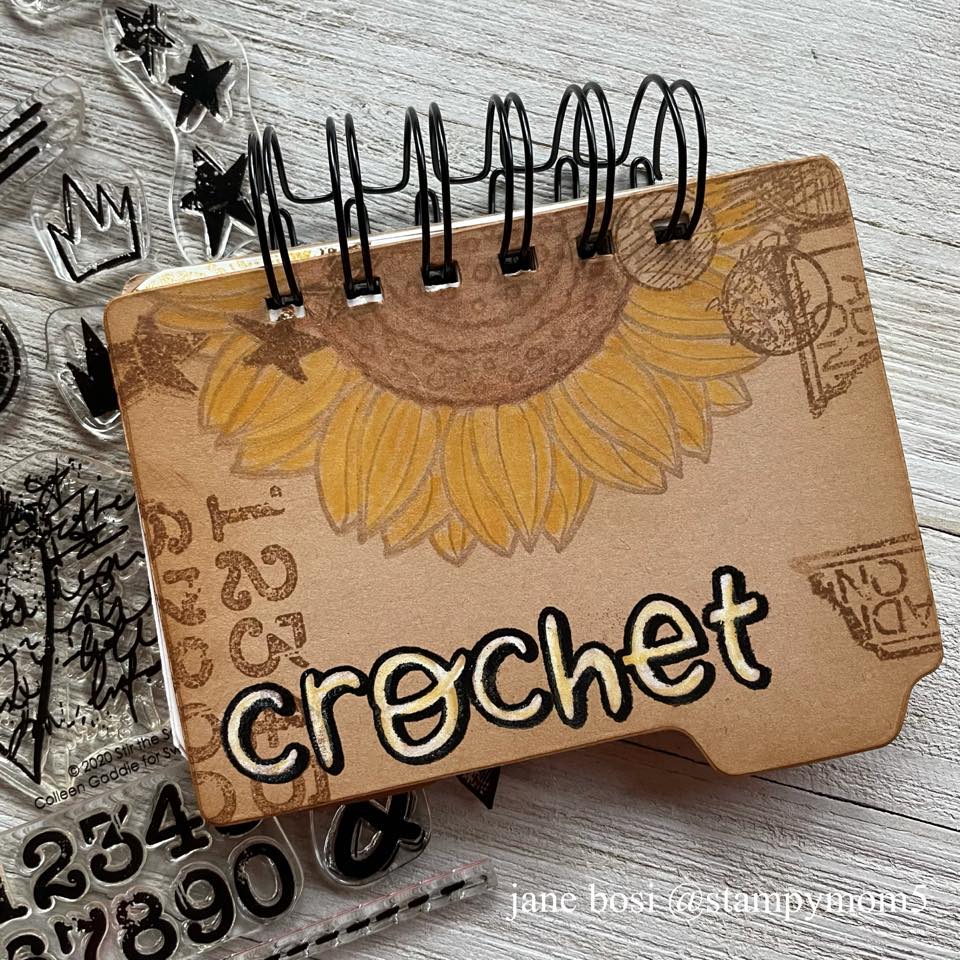

Be sure to leave a small space between the chipboard pieces when assembling so they open and close without interference.

Decorate the front cover and set aside, moving on to creating the individual boxes.


Creating Daily Calendar Boxes:

Step One:           Score, on the long side of each 4 x 7 cardstock piece (24) at 1”, 3”, 4” and 6”

Rotate the cardstock and score again at 1” and 3”

Step Two:           Trim scored lines and corresponding flaps as shown below.  If desired, you can create a half circle notch on one end flap with a circle punch.   I used a 1 ¼” circle punch.


Step Three:        Place adhesive on the front and back flaps as shown.  


Step Four:          Fold and adhere each box (24) as shown.

Putting It All Together:

Step One:           Adhere each box to the base. I use a wet adhesive rather than tape for this step.  It is faster and I can get better overall coverage.  Pour a liberal amount of adhesive on your non-stick surface and dip each box bottom in for complete coverage from edge to 
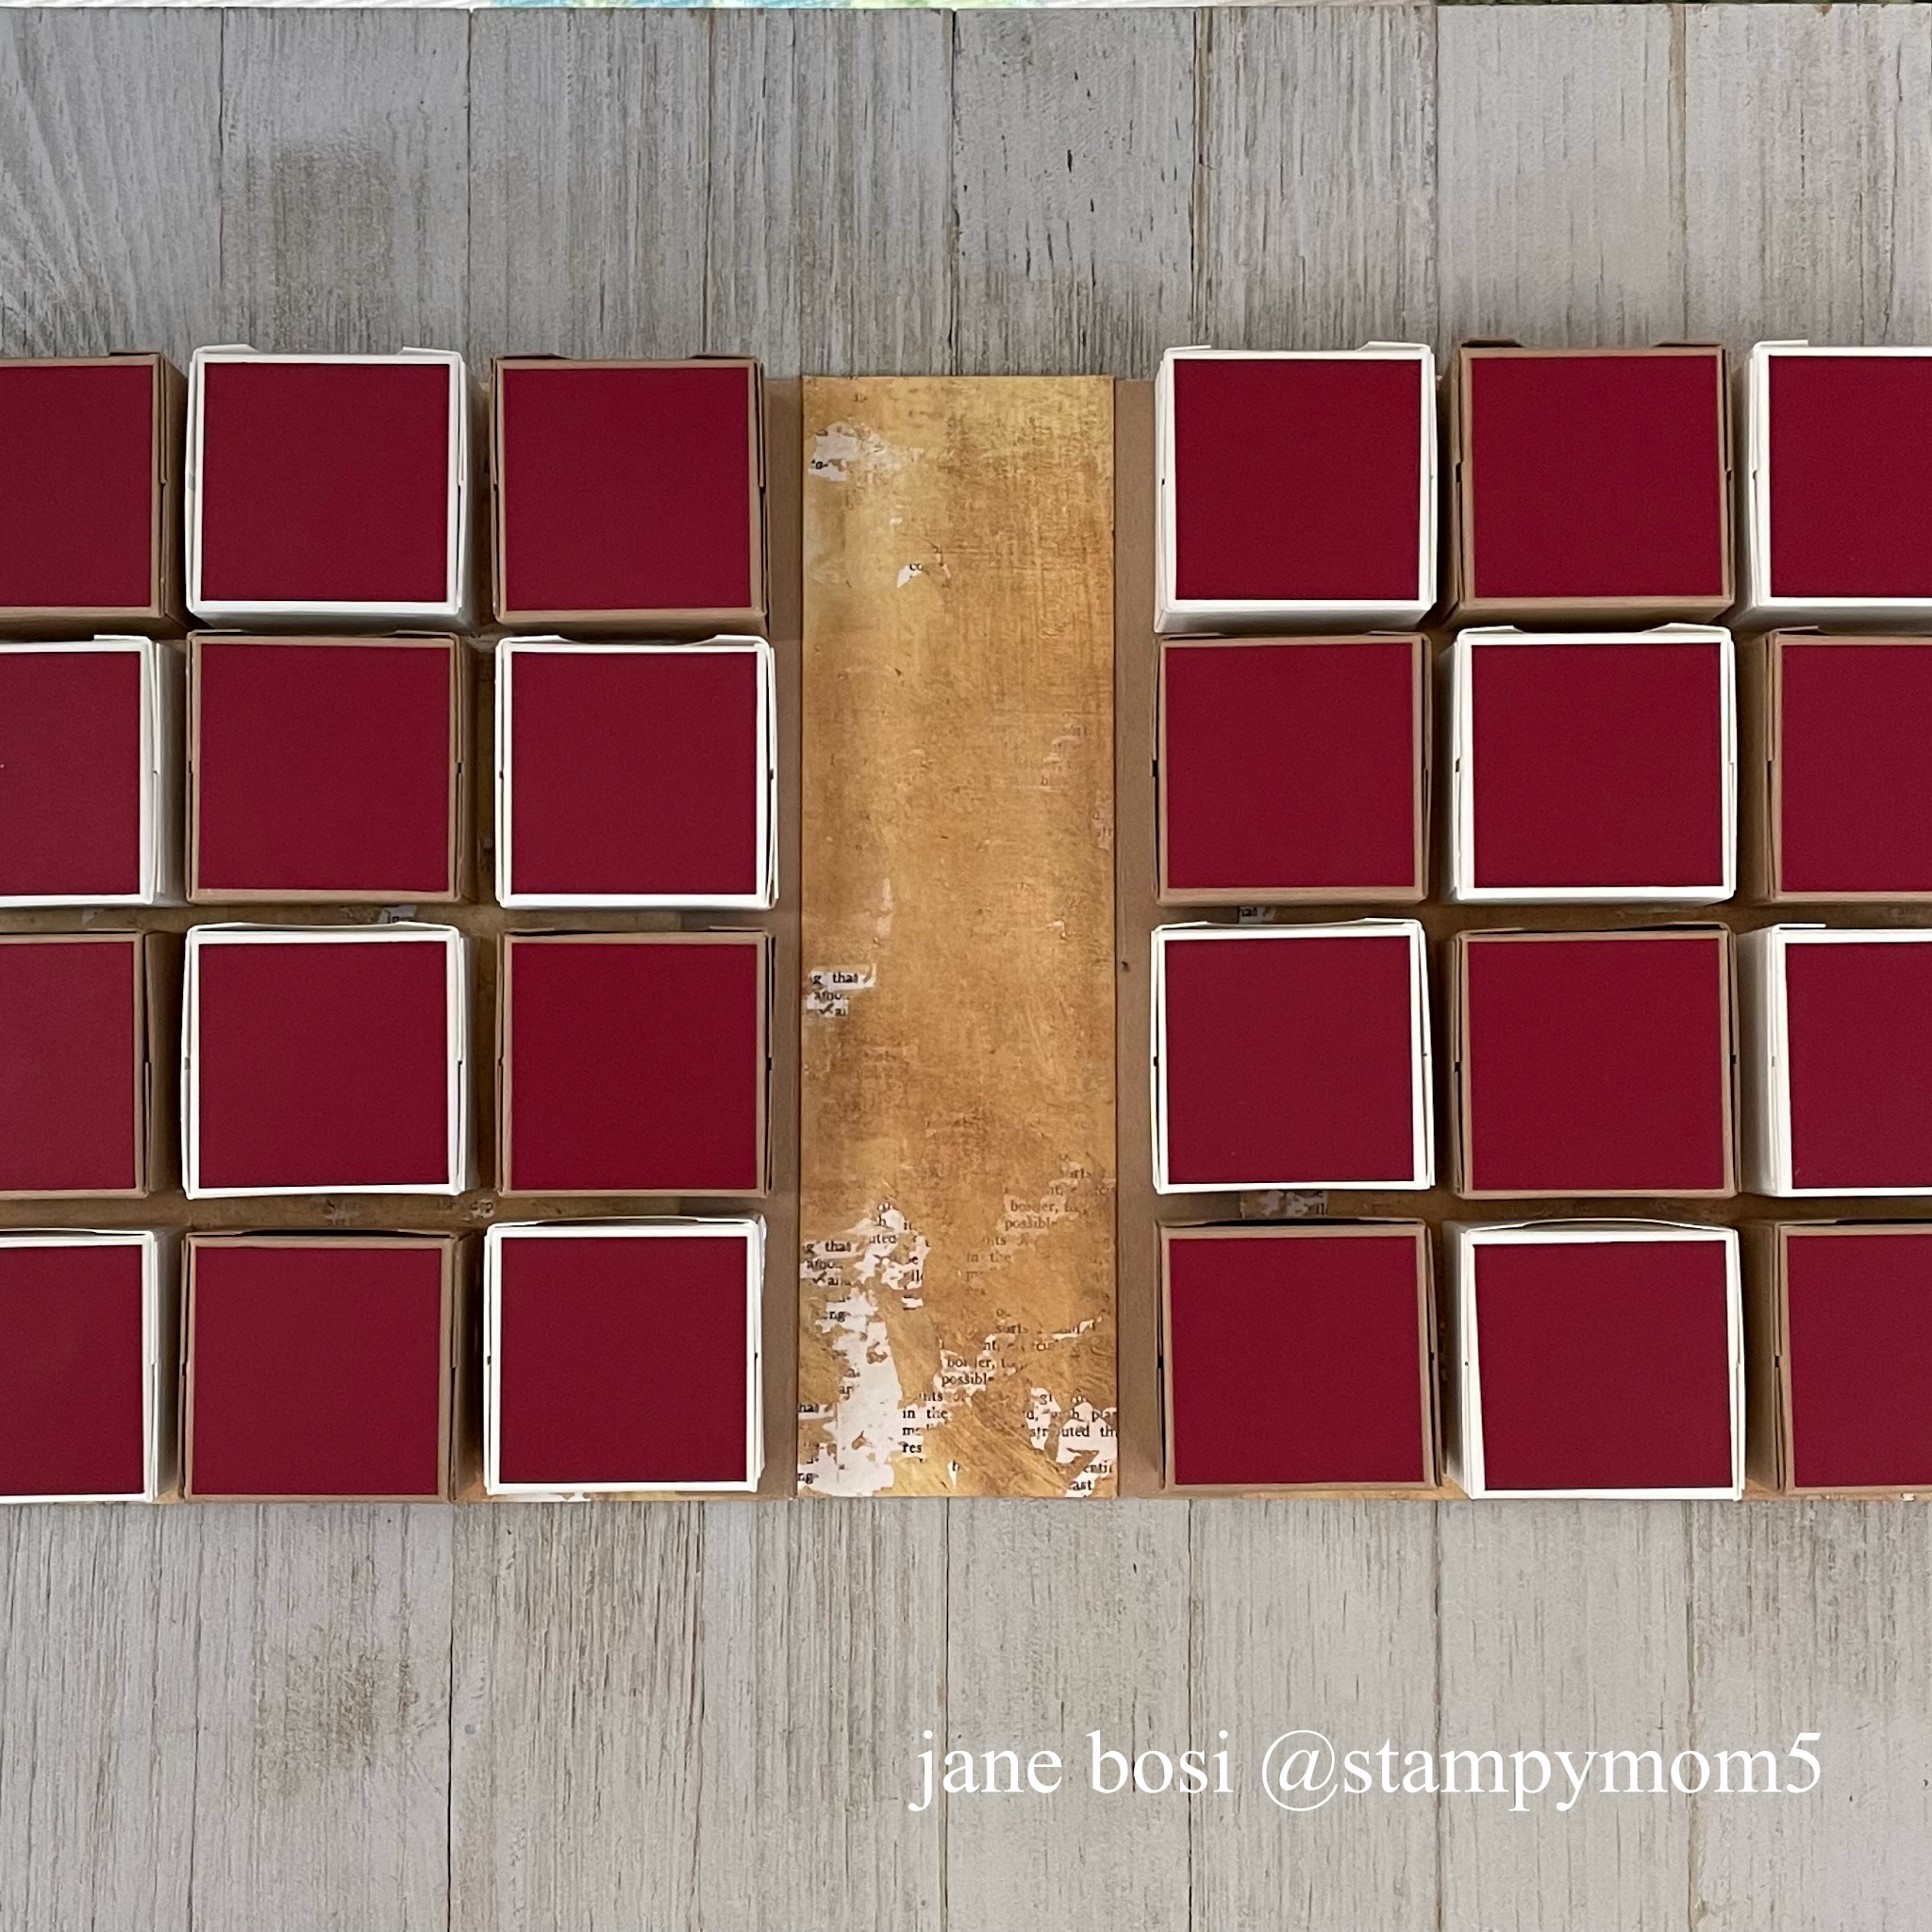
edge.  As seen in the photo, the box bottom is the piece with the notch.  The three flapped piece is the cover—which I have begun to decorate with the red cardstock square.


I apologize for this partial picture, but you still get the idea.  You will adhere 12 boxes on each cover; four rows of three boxes.  Be sure to leave enough space between the rows so you are able to open each box.  I place a glass mat on top of the boxes while the glue dries to insure each box is well secured.

While the glue dries, decorate the box covers, numbering them from 1-24.

Adhere the numbered decorative pieces to the box tops in a random order.  Fill each  box with a small treat, toy and/or scripture verse. 


This is really a fun project!  I sure hope you give it a go!  Tag me @stampymom5 when you do--I'd love to see your work!

TTFN, Jane


Thursday, July 22, 2021

Junk Journals, Prayer Books...It's All The Same


Friends!  I love to thrift!  Earlier this summer, my daughter and I went to an estate sale and I found this gem for 50 cents!!  What a find!


If you are already following me on Instagram (where I post most of my stuff- @stampymom5) You may recall this from an earlier posting.  I tried my first tip in because the book has some wonderful prayers in it that I don't want to cover up.  I used Sweet As Honey to complete the layout.


And, now, I think I may be getting hooked on junk journaling!  I added this layout to the front cover of My Little Prayer Book using:  Blooming AnemonesTexture Tiles 6, Timeless HymnsChicken Wire Stencil, my gelpress plate, Distress Inks and some paper scraps.  It's fun and addicting--give it a try!

Have a great day!  Jane


Wednesday, April 14, 2021

April SNSS Hop


Welcome to the Sweet 'n Sassy April Release Hop. Hop along with us as we share our projects with the fabulous April release! Don't forget to leave a little comment love for the designers linked below for a chance to be entered into our giveaway drawing for a $25 gift voucher to the Sweet 'n Sassy Stamps shop. Winner will be announced on the SNSS blog, Wednesday, April 28.


So, in this crazy pandemic, I decided to teach myself to crochet.  No, I'm still not good at it, but...you, know, it's coming along!  I'm currently working on a baby blanket. I usually find a pattern, screenshot it and then forget the details.  I decided to make myself a little pattern/resource book.  I crafted all of these little dividers with this month's release (and then some!)
And, bound them all together with my bind it all.  Stamp sets featured:  Grunge Elements 3, Skinny Caps Alpha, Messy Stamped Alpha, Lollipop Alpha, Like a Sunflower, Butterfly Background (the stamp of the month) and the Grunge Dots Stencil
I'm obsessed with Grunge Elements 3

How cute are those little butterflies?
The Grunge Dots Stencil is perfect for those corners!
Tada!!!


Like I said, obsessed with Grunge Elements 3! It's perfect for playing around with your gel press!
I also added the Script Stencil to the background.  It became the perfect backdrop for some butterflies from Made New.  It's hard to see in my picture, but each butterfly is inset by using the coordinating dies and then popping up the gel press panel.  The sentiments on the front and inside are both from Begin Again.
This card is headed to a very special friend of mine!  Another friend of mine is Esther Asbury.  You are headed to her blog next and I promise you will be inspired!!  Thanks for joining us!  Remember to comment for your chance to win!  TTFN, Jane


Thursday, April 8, 2021

I Just Smile


Happy Thursday, Thirsty Souls!!  I have a couple projects to share today featuring the new release Thirsty Soul (see what I did there...lol!!) from Sweet N Sassy Stamps! There is so much goodness in this release--I'm excited to share it with you!!  You can mark your calendar also for the release blog hop next week!!  Join us on Wednesday, April 14th 😊

My first project for today, seen above, has a shabby feel to it--the stamps, the colors....I just love all of it!  I added the Script Stencil along with images from Grunge Elements 3 and some inking for the back ground.  The sentiment from My Thoughts of You is the perfect compliment to the hanging cactus from Thirsty Soul.  This stamp set also has matching dies--you guuuyyyys!!!  I'm old school--no fancy cutting machines for me so I am thrilled with the addition of so many new sets and matching dies. Plus, you save when you buy them bundled together!  Like we need anymore incentive, am I right??

My second project, eatures a gelprint background I created using several Distress Oxide inks along with images from Thirsty Soul and Grunge Elements 3--can I just say, I LOVE this grungy set?  It is perfect for creating all kinds of texture and interest; and, those lovely shabby chic backgrounds!!


The happy birthday sentiment can be found in the Sentimental Mash Up set!  It's so good!
Have a great, inky day!  TTFN Jane


Wednesday, March 17, 2021

Gnome One Like You March Hop


Welcome to the Sweet 'n Sassy March Release Hop. Hop along with us as we share our projects with the fabulous March release! Don't forget to leave a little comment love for the designers linked below for a chance to be entered into our giveaway drawing for a $25 gift voucher to the Sweet 'n Sassy Stamps shop. Winner will be announced on the SNSS blog, Wednesday, March 24.


I'm sharing a few projects today that feature the new release, Gnome One Like You--along with other favorite goodies from the Sweet N Sassy store!

For my first project, I used the Puffy Cloud stencil and Texture Tiles 11 with my gel plate to create a super cool background panel.  You can find a gel plate like mine, here.  

 
I added sentiments from Gnome One Like You and Sentimental Wordfetti along with some die cut grass, from this set of dies.

My second card also features Gnome One Like You and Texture Tiles 11.

The heart die set is perfect as a finishing touch!

Your next stop is Karen's Blog--Enjoy!
TTFN--Jane

Thursday, March 11, 2021

Count Your Rainbows


Happy Thursday!  I'm loving the new release from Sweet N Sassy Stamps this month!!  Today, I'm featuring the Count Your Rainbows set.  I love that it has matching dies, you guys!!


I see many more rainbow projects with this fun set.  I used other SNSS goodies to complete my projects:  Trust In The Lord, Texture Tiles 1 and Texture Tiles 10.

By the way, Sweet N Sassy Stamps is moving!! That means inventory reduction sale time!  15% off the whole site!!!  

Shop the store here and use code MOVING now until the end of March!!

We serve a promise keeping God.  Whatever you are facing today, you are not alone.  Your God is both behind and infront of you!  Be blessed and count on His promises!

TTFN--Jane

Sunday, February 28, 2021

Coffee, Anyone?

Happy Sunday, Friends!  I hope you are able to find rest and relaxation today!  I'm sharing a fun pocket card I made for my daughter for a sweet little galentine!  It has a pocket for a sweet treat and a gift card pocket, as well.  After creating the card base, I decorated the panels and pockets with older designer papers from Stampin' Up! and some sweet images from Sweet N Sassy Stamps!  I love the coffee cup from Fill Me Up and the matching dies make it a breeze to add to any project.  

Sweet N Sassy Stamps has added new dies to the store--these fun Speech Bubble dies are fresh out of the vault--I was lucky enough to have them from the first go around!  I used a sentiment from Coffee Talk to match the overall theme--the gift card inside the front pocket is to a local coffee shop.  As you can see, I've tucked a candy bar into the larger front pocket.  Coffee and chocolate--a great combination!

The inside features more sentiments and images from Sweet N Sassy Stamps:  My Thoughts of YouGrunge Elements 2 and My Punny Valentine.


The card is kept closed with some twine through the eyelets on the front and back.

I used Happy Mail on the back. Its the perfect final touch for the back of  any project!


Have a great day!  TTFN--Jane


Wednesday, February 17, 2021

SNSS Blog Hop: Sunday is Coming! Rejoice!

Welcome to the Sweet 'N Sassy Stamps February Release Hop! Hop along with us as we share our projects with the fabulous February release! Leave a little comment love for the designers linked below for a chance to be entered into our giveaway drawing for a $25 gift voucher to the Sweet 'N Sassy Stamps shop. A winner will be announced on the SNSS blog, Wednesday, February 24.  The hop list is:

          Sweet 'n Sassy Blog

 I wanted to feature the new Easter Innies set as a way to show that Innies aren't just for the inside!!  This is a great set that is full of possibilities.  "Sunday is coming!"  
Oh, goodness--  I love that sentiment and all that it means! 


To finish this card, I used an image from He is Risen, some designer paper scraps, cardstock and a few other odds and ends, like twine and staples!

I used more images from He is Risen for my second card along with some loose watercolors and another sentiment from the Easter Innies set.


I can't wait to see what you'll do with this month's release!  Enjoy the rest of the hop--you are off to LeeAnn Barrett's wonderful blog and beautiful creations!!
TTFN, Jane
 

Thursday, February 11, 2021

Rejoice Always


Today, I'm sharing a card that is full of goodness from the Sweet N Sassy store!  Y'all there have been so many new (and old) goodies coming out, I bet your head is swirling!  Mine sure is!

I started my background using the new Delightfully Delicate Stencil and then added some flowers with this month's stamp of the month,  Floral Background .  Here is how you can qualify for this stamp set for FREE:

I've always been in love with the shabby chic look.  Sponging and distress tools are great ways to quickly achieve this look.  I did both on the main background and the layered mat piece.

I had only used Special Blend once or twice when it was "retired."  Once again my hoarding...um, careful preservation of goodies paid off!  I was thrilled not only when this set came out of the vault, but also the dies to match.  Now, I don't mind some fussy cutting, but I do so love the finished edge and overall sleekness that die cutting provides.  I generally water color using distress inks and have been playing around with the different looks you can achieve with regular Distress Inks and the Distress Oxides.

Finally, I am really loving the new sentiment set, Faith Phrases.  The perfect final touch!  This is a great, versatile set and one I would recommend if you are just getting into card making....or, if you've been doing it forever!

Thanks for stopping by!! TTFN, Jane