Happy Friday, Sweet Friends! It's release day at
Sweet 'N Sassy Stamps! If you are a member of the Sweet Perks Club, you've already seen some of the new designs. The new designs make those masculine cards a piece of cake! All new stamps and dies are available TODAY for preorder. Join us, next week Friday, April 17th, for an inspirational April Release Hop and Challenge!
Windy Winnie, from the Sweet 'N Sassy March release, is still on my mind as the weather here changes daily. Yesterday it poured all day and this morning, I woke to 5 inches of snow! Go figure! I could use
any of the Winnie sets and still be weather appropriate!
As I created this card, I reflected on the storms of life....it made me think of my friend, Missy. I'm so grateful for her friendship. My experience has been to usually walk in a storm alone--it's part of storminess, I guess. It is where growth happens and, in my experience, the drawing nearer.....It has also been my experience, that eventually, the clouds begin to part and you realize that there are those who walk beside you. My friend, Missy, is such a gift to me, and, literally walks beside me :) ....I think those who walk with us are God's tangible reminder that He is ALWAYS with us--we are never alone. I chose this beautiful sentiment from
Be Encouraged, from Sweet 'N Sassy stamps, for just this reason!
I also filmed a little tutorial for you.....
The
Bokeh
effect has been translated into a stamping technique by many. This is
just my little take on it. I think the Windy Winnie is perfect for
such a technique!--The supplies I used are shown below. I chose distress inks to create my
water colored background, but you could use just about any type of
water coloring to create your own.
Distress Inks & Water Spritzer
Water Color Paper
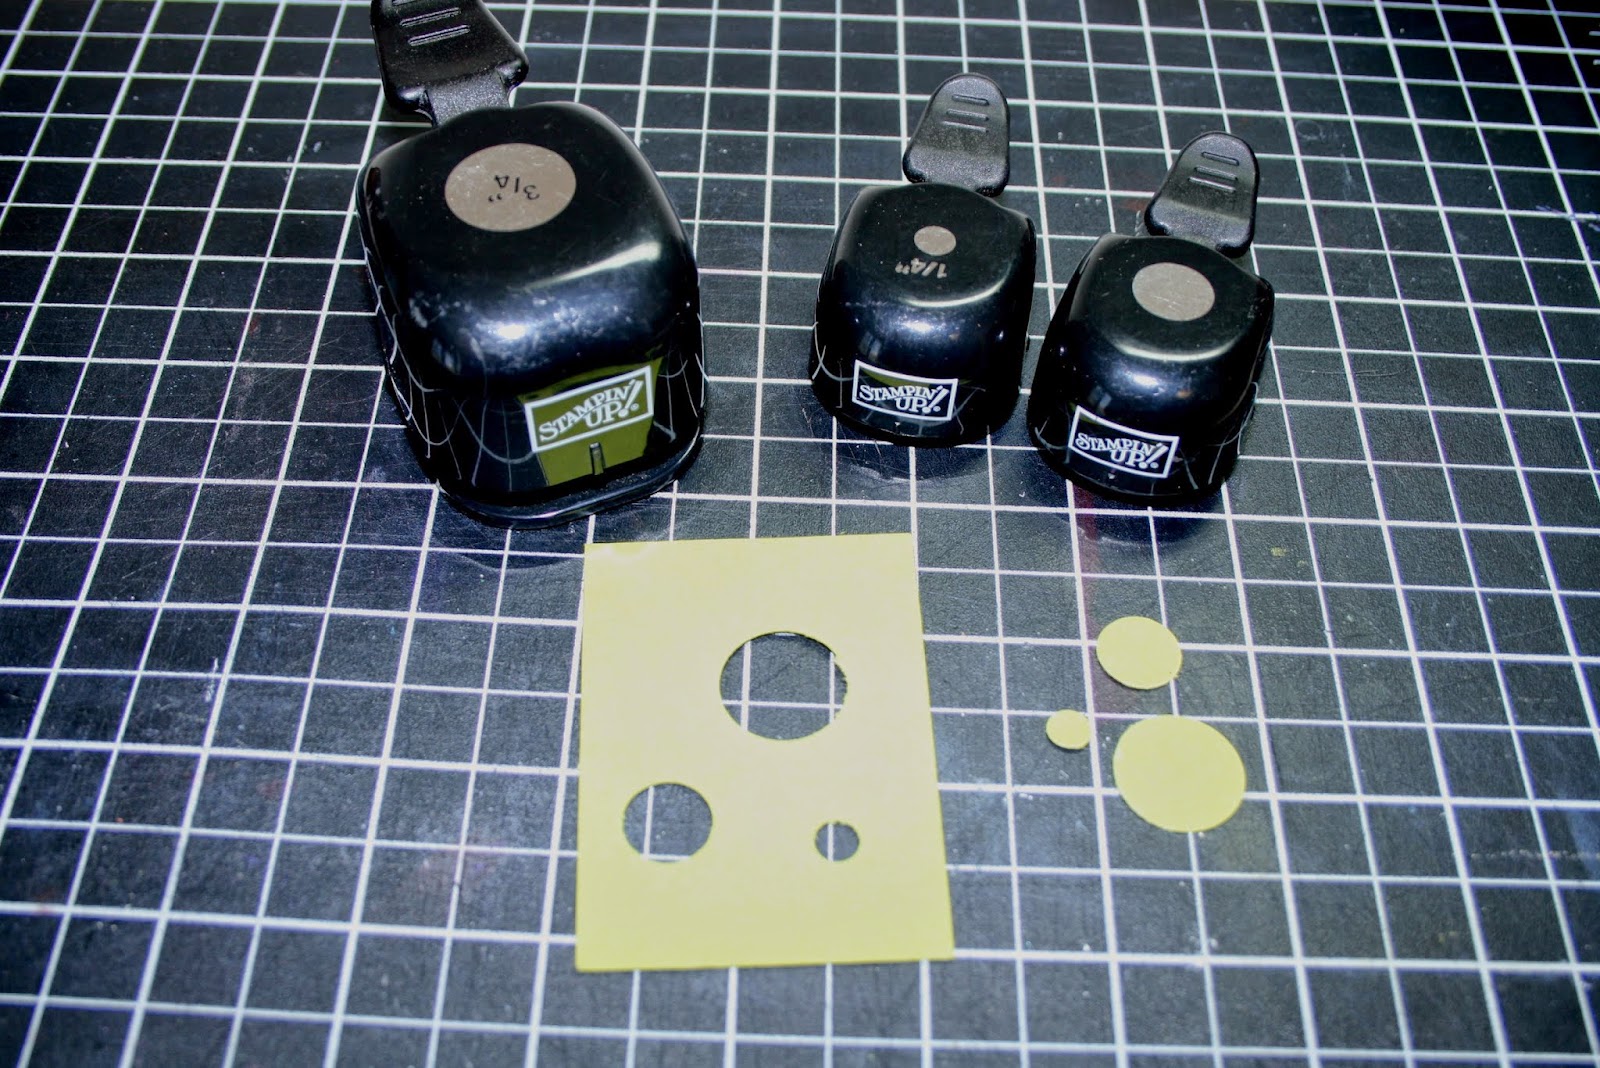
Various Circle Punches (or dies) & Scrap Cardstock
Painter's Tape (optional)
Stamp Image
White Pigment Ink & Dauber
Black Ink & Black Marker
The
Painter's Tape is optional because if you do not wish to create an
uninked frame around your piece, you will not need it. I wanted my
final product to have the frame, so I started simply by masking a frame
around the water color paper.
Working on a nonstick surface, I applied several distress inks directly to the surface and spritzed, liberally, with water.
Directly
apply the water color paper to the watered inks. I recommend having a
rag towel or paper towel near by to mop up excess inks as desired.
Allow the first dipping to dry a bit.....
Re-dip
in the pooled ink until the desired look is achieved. Allowing dry
time between the layers of ink will produce the most interesting
results, in my experience! Have fun and experiment! When you like what
you see, remove any masking and allow the piece to dry completely.
Next,
I stamped my image--with the idea of silhouetting her. Again,
everything about this background says Windy Winnie to me! She's such a
fun character!
Using
the various circle punches and scrap card stock, create a stencil of
sorts that you will use to apply the pigment ink circles or bokeh
effect.
Apply
white pigment ink, using a dauber, through the punched circles to your
background piece. If you are also silhouetting your image, avoid
applying the pigment ink to the image. Use varying intensity of the
white ink in different circles. This increases the bokeh effect. Allow
the white ink to dry completely or heat set to avoid smearing while
completing your card.
Using a black permanent ink, such as a Copic marker or Sharpie, color the entire image to create a silhouetted look.
It's that easy!
Now, go walk along side someone and make it a great day! Don't forget to be awesome!
TTFN, Jane
I got crafty with: